Stress testing is a crucial step in ensuring the stability and performance of your gaming PIt involves pushing your system to its limits to identify any potential weaknesses or issues that may arise during intense gaming sessions or other demanding tasks. By subjecting your PC to high levels of stress, you can uncover any hardware or software problems that may not be apparent under normal usage conditions. This allows you to address these issues before they cause system crashes, freezes, or other performance issues that can negatively impact your gaming experience.

Stress testing is also important for ensuring that your PC can handle the latest and most demanding games and applications. As technology continues to advance, games and software are becoming increasingly resource-intensive, requiring more powerful hardware to run smoothly. By stress testing your system, you can determine whether it is capable of handling these new demands and make any necessary upgrades or adjustments to ensure optimal performance.
Choosing the Right Stress Testing Software
When it comes to stress testing your gaming PC, choosing the right software is crucial. There are a variety of stress testing tools available, each with its own set of features and capabilities. Some popular options include Prime95, FurMark, and AIDA64, among others. It’s important to research and compare different stress testing software to find the one that best suits your needs and preferences.
When selecting stress testing software, consider factors such as the types of stress tests it can perform, its compatibility with your hardware, and its user interface. Look for software that offers a range of stress tests, including CPU, GPU, and memory tests, as well as options for customizing test parameters. Additionally, ensure that the software is compatible with your specific hardware components and operating system. A user-friendly interface is also important, as it can make the stress testing process more efficient and accessible for users of all experience levels.
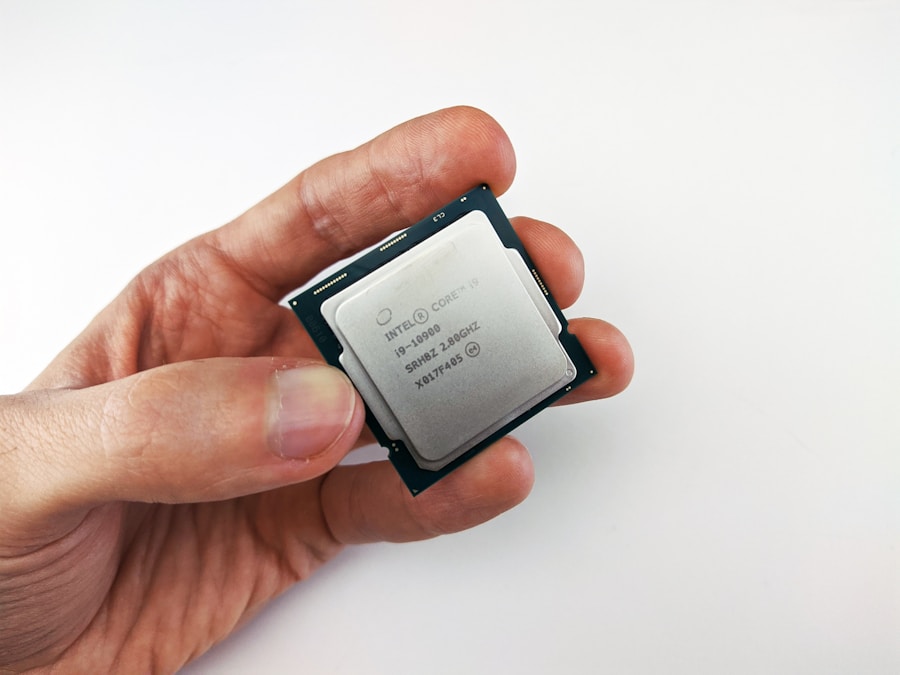
Preparing Your Gaming PC for Stress Testing
Before running a stress test on your gaming PC, it’s important to take certain precautions and prepare your system for the intense workload it will be subjected to. Start by ensuring that your PC is clean and free of dust, as excessive dust buildup can impede airflow and cause overheating during stress testing. Use compressed air or a soft brush to carefully remove any dust from your PC’s components, including the CPU cooler, GPU, and case fans.
Next, check that your PC’s cooling system is functioning properly. Ensure that all case fans are operational and that your CPU and GPU coolers are securely attached and free of obstructions. Consider installing additional cooling solutions, such as aftermarket CPU coolers or case fans, if necessary to improve airflow and dissipate heat more effectively during stress testing. Additionally, make sure that your PC’s power supply unit (PSU) is capable of providing sufficient power to all components under maximum load. Upgrading to a higher wattage PSU may be necessary if your current unit is insufficient for stress testing.
Running the Stress Test
Once your gaming PC is prepared for stress testing, it’s time to run the stress test software. Before starting the test, ensure that all unnecessary background applications are closed to minimize system resources and prevent interference with the stress test. Open the stress testing software and select the desired test parameters, such as test duration, workload intensity, and specific components to be tested (e.g., CPU, GPU, memory).

Start the stress test and monitor your PC’s performance closely during the test. Keep an eye on temperatures, fan speeds, and system stability to identify any potential issues that may arise. If you notice any abnormal behavior or signs of instability, such as sudden temperature spikes or system crashes, stop the test immediately to prevent damage to your hardware.
Monitoring Your PC’s Performance
During the stress test, it’s important to monitor your PC’s performance using various monitoring tools and software. Keep an eye on key metrics such as CPU and GPU temperatures, fan speeds, system voltages, and overall system stability. Many stress testing software packages include built-in monitoring tools that provide real-time data on these metrics, allowing you to track your PC’s performance throughout the test.
In addition to built-in monitoring tools, consider using third-party monitoring software such as HWMonitor or MSI Afterburner to gather more detailed information about your PC’s performance. These tools can provide additional insights into your system’s behavior during stress testing and help you identify any potential issues or areas for improvement.
Analyzing the Results
After completing the stress test, it’s time to analyze the results and determine whether any adjustments or upgrades are necessary. Review the data collected during the test, paying close attention to any abnormalities or areas of concern. Look for signs of overheating, voltage fluctuations, or other performance issues that may indicate hardware problems or limitations.

If the stress test reveals any issues with your PC’s performance or stability, consider implementing necessary upgrades or adjustments to address these issues. This may involve upgrading your CPU cooler or case fans to improve cooling efficiency, replacing an underpowered PSU with a higher wattage unit, or adjusting overclocking settings to achieve a more stable and reliable system.
Implementing Necessary Upgrades and Adjustments
Based on the results of the stress test, take appropriate action to address any issues or limitations identified during testing. If overheating was a concern during the stress test, consider upgrading your cooling system with more efficient CPU or GPU coolers, additional case fans, or a larger heatsink. Upgrading to a higher wattage PSU may be necessary if the stress test revealed power delivery issues or instability under load.
If your gaming PC struggled to maintain stable performance during the stress test, consider adjusting overclocking settings or reverting to stock frequencies to achieve a more reliable system. Additionally, updating drivers and firmware for your hardware components can help resolve compatibility issues and improve overall system stability.
In some cases, implementing necessary upgrades and adjustments may require investing in new hardware components or accessories for your gaming PWhile this may involve additional costs and effort, addressing any issues identified during stress testing is essential for ensuring optimal performance and longevity of your system.
In conclusion, stress testing is a critical step in maintaining the stability and performance of your gaming PBy choosing the right stress testing software, preparing your PC for stress testing, running the test, monitoring performance, analyzing results, and implementing necessary upgrades and adjustments, you can ensure that your system is capable of handling demanding tasks such as gaming with ease. Taking proactive measures to identify and address potential hardware or software issues through stress testing can help you avoid system crashes, freezes, and other performance problems while maximizing your gaming experience.