You’ve decided it’s time to upgrade your PC’s storage, and you’re ready to tackle the challenge of mounting a new hard drive. Properly installing a hard drive is crucial to ensure optimal performance and data safety. In this ultimate guide, we’ll walk you through the step-by-step process of mounting a hard drive in your PC. From gathering the necessary tools to avoiding common pitfalls, we’ve got you covered. Get ready to take your PC to the next level with this comprehensive how-to guide!

Key Takeaways:
- Compatibility is key: Make sure the hard drive you choose is compatible with your PC’s specifications.
- Proper tools are crucial: Invest in the right tools such as screwdrivers and anti-static wrist straps to safely mount the hard drive in your PC.
- Follow a step-by-step guide: It’s important to follow a detailed how-to guide to ensure the hard drive is installed correctly.
- Consider cable management: Organize the cables inside your PC for better airflow and to prevent tangling with the hard drive.
- Test the hard drive: Once the hard drive is installed, test it to ensure it is recognized by the system and functioning properly.
Choosing Your Hard Drive: Size Matters But So Do Speeds and Feeds
SSD vs. HDD – What’s Your Flavor?
Now, let’s talk about the age-old debate: SSD vs. HDD. Solid State Drives (SSDs) offer lightning-fast speeds, improved performance, and durability. On the other hand, Hard Disk Drives (HDDs) provide larger storage capacities at a lower cost. Consider your needs – are you a speed demon or a data hoarder?
Compatibility Check – Making Sure It Fits Like a Glove
Feeds, before you commit to a hard drive, ensure compatibility with your system. Check the physical dimensions of the drive to ensure it fits in your PC case. Additionally, verify if your motherboard supports the type of drive you choose, whether it’s SATA, NVMe, or M.2.
For your peace of mind, ensure your power supply can handle the additional load of a new hard drive. Upgrading to an SSD may require additional data cables or mounting brackets, so be prepared to make these adjustments. Ignoring compatibility can lead to performance issues or even hardware damage.
The How-To: Getting Down to Business
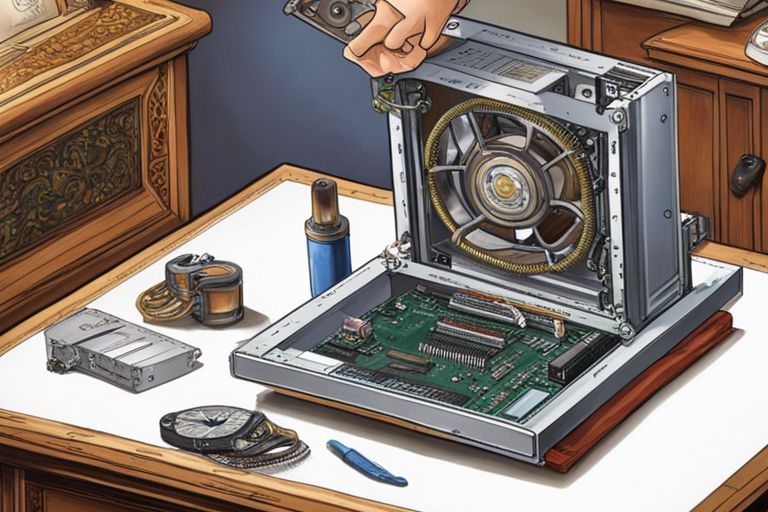
Step-by-Step: Mounting Your Hard Drive Like a Pro
Not sure where to start when it comes to mounting a hard drive in your PC? Don’t worry, we’ve got you covered with this step-by-step guide that will have you feeling like a pro in no time.
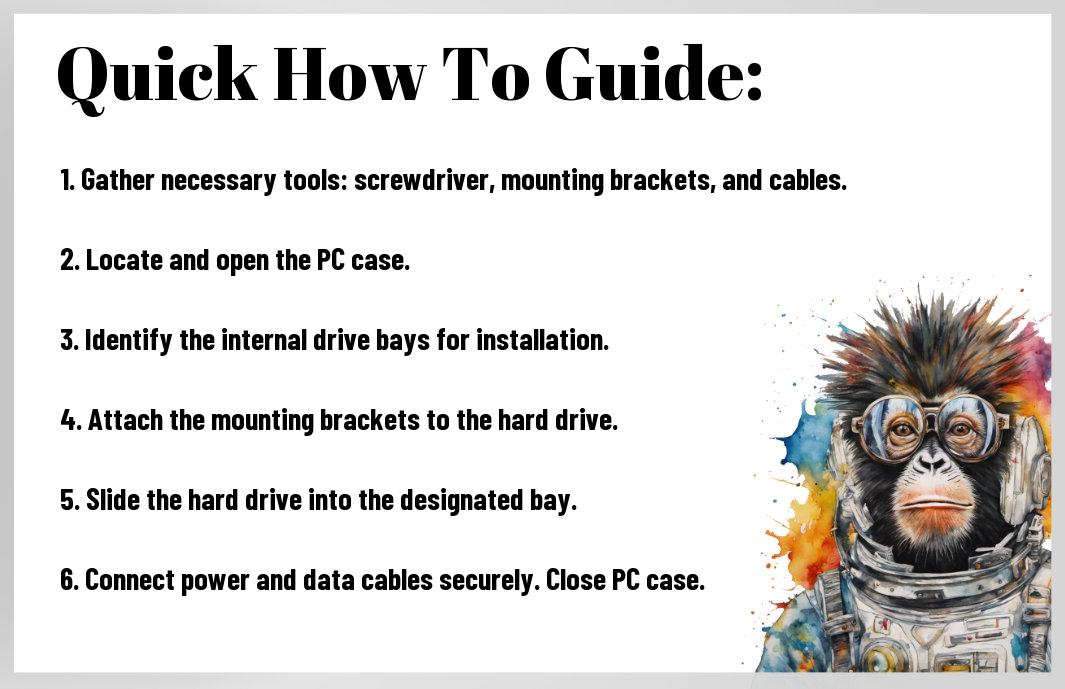
| Step 1: Gather your tools | Step 2: Locate the drive bay |
| Step 3: Slide in the hard drive | Step 4: Secure the drive with screws |
Tips for Screwing and Securing – No Loose Ends!
Now, let’s talk about securing your hard drive properly to avoid any mishaps. Here are some key tips to ensure your hard drive stays in place:
![VALORANT $10 Gift Card - PC [Online Game Code]](https://m.media-amazon.com/images/I/41IGhWA1O6L._SX300_SY300_QL70_ML2_.jpg)
- Use all screws provided to secure the hard drive in place.
- Do not overtighten the screws as this can damage the hard drive or the bay.
- Double-check your connections to ensure everything is securely in place before closing up your PC.
To make sure your hard drive is mounted securely, follow these additional tips. After all, you don’t want any loose ends jeopardizing your data or your PC’s performance.
- Ensure the screws are tightened evenly to prevent any wobbling or movement.
- Check the drive’s positioning to avoid any interference with other components in your PC.
Loose screws or improper securing can lead to the hard drive coming loose during operation, potentially causing damage to the drive and loss of data. Recall, a little extra care during this step can go a long way in protecting your hardware and data.
Post-Installation: The Setup
Formating and Partitioning – Carve It Up Right
After successfully mounting your hard drive into your PC, it’s time to format and partition the drive to optimize its performance. Any seasoned PC builder will tell you that proper formatting and partitioning are crucial steps that cannot be overlooked. By carving up your new drive correctly, you can ensure smoother operation and prevent data corruption in the long run. Be sure to choose the right file system for your needs and divide the drive into partitions that make sense for your workflow.
Installing an OS and Getting Your Drive in the Game
After successfully formatting and partitioning your newly mounted hard drive, it’s time to install an operating system and get your drive into the game. Some may find this step daunting, but with the right guidance, it can be a breeze. Installing an OS on your new drive is a critical process that will determine how efficiently your PC runs. Make sure to follow the installation instructions carefully and don’t skip any crucial steps. Once the OS is up and running, make sure to configure your system settings to ensure optimal performance and security.

A crucial point to remember during this step is to always backup your data before installing a new operating system. This can prevent any potential loss of important files and ensure a smooth transition to your new setup. Additionally, it’s important to keep your OS up to date with the latest patches and security updates to protect your system from vulnerabilities. Be mindful of, a well-maintained and optimized OS is the foundation of a reliable and efficient PC setup.
Maintenance and Troubleshooting: Keep It Running Smooth
Regular Check-Ups – Health Tips for Your Hard Drive
Keep your hard drive in tip-top shape by performing regular check-ups to ensure it remains healthy and efficient. Check for any unusual noises, errors, or slowdowns that could indicate a problem. Scan for viruses and malware regularly to keep your data safe and your hard drive running smoothly. Make sure to defragment your hard drive periodically to optimize its performance and longevity. The key to a healthy hard drive is proactive maintenance!
- Regular Check-Ups to monitor health
- Scan for viruses and malware
- Defragment your hard drive
The longevity of your hard drive depends on regular maintenance routines.
When Things Get Rough – Troubleshooting Common Issues
Now, when you encounter hiccups with your hard drive, don’t panic. Hard drive issues are common but can be resolved with some troubleshooting steps. If you experience data loss, try using data recovery software to retrieve lost files. Check the connections and cables to ensure everything is properly connected. Also, running a disk check to scan and repair any errors can help resolve common issues.
Hard drive problems can be daunting, but with the right troubleshooting steps, you can overcome them and keep your data safe and secure.
FAQ
Q: Why is mounting a hard drive in your PC important?
A: Mounting a hard drive in your PC is crucial because it allows you to expand your storage capacity and improve the overall performance of your computer.
Q: What tools do I need to mount a hard drive in my PC?
A: To mount a hard drive in your PC, you will need a Phillips screwdriver, SATA cables, and possibly an adapter bracket if your hard drive size doesn’t match your PC case.

Q: How do I physically install the hard drive into my PC?
A: To physically install a hard drive in your PC, open your case, locate an empty drive bay, secure the hard drive with screws, and connect the SATA and power cables.
Q: How do I format and initialize the new hard drive?
A: To format and initialize a new hard drive, right-click on the Windows Start button, select Disk Management, locate the new drive, right click on it, and choose the format option.
Q: What are some tips for optimizing the performance of the newly mounted hard drive?
A: To optimize the performance of your newly mounted hard drive, make sure to regularly defragment the disk, keep your system updated, and avoid storing unnecessary files on the drive.